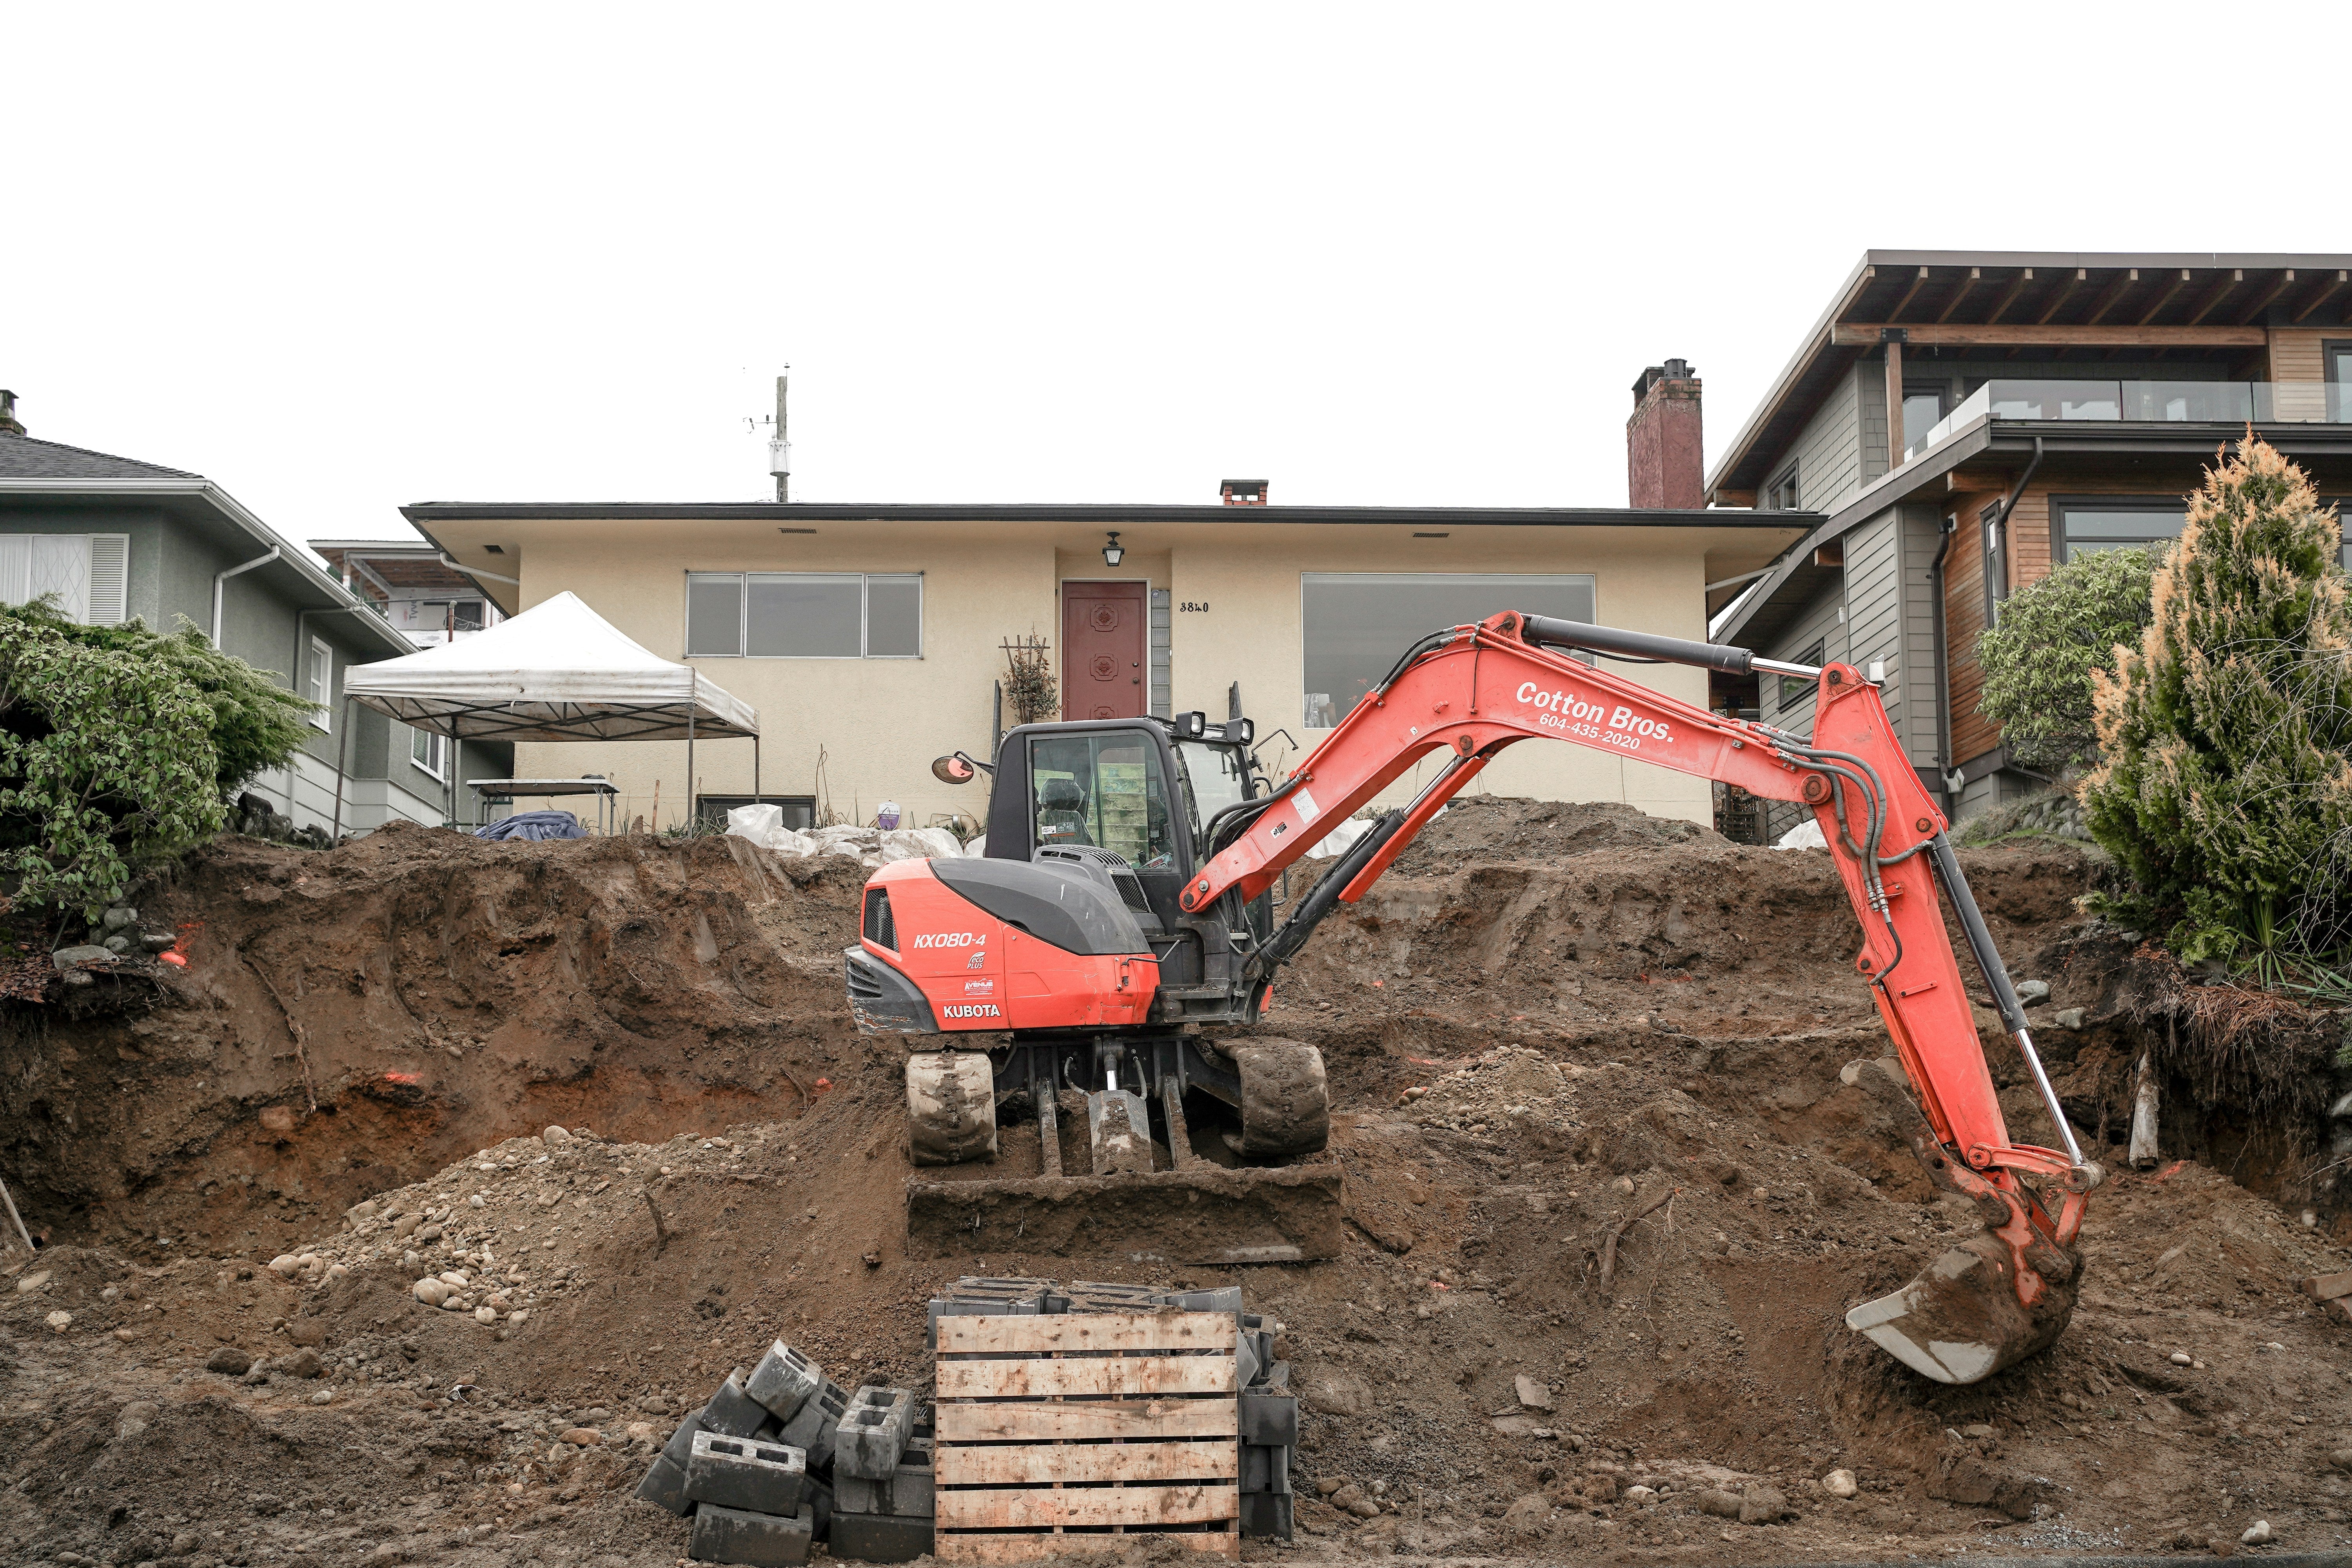
Installing your final drive motor doesn't have to be a nightmare. Too many operators turn a simple replacement into a multi-day headache.
They skip critical steps or rush through the process. Your excavator's final drive motor moves your machine. When it fails, you face serious downtime and lost revenue. Install it right the first time and you're back to work fast.
Let me show you how to do this without costly mistakes.
Pre-Installation Preparation Requirements
Most installation problems start before you touch the new motor. The prep work separates pros from amateurs.
Verify Correct Final Drive Specifications
Many people order the wrong final drive motor for their machine. Before you start, verify these details:
Critical checks:
- Excavator model number
- Serial number
- Gear ratio
- Bolt pattern
- Motor compatibility
Installing the wrong unit wastes time. It damages your machine and voids your warranty. Take five minutes to verify everything matches.
Clean Work Area and Mounting Surface
Dirt destroys components from the inside out. Any debris in your hydraulic system or gearbox causes failure.
Remove all dirt, mud, and grime before you start. Use a wire brush and cleaner. Get the surface completely clean. This prevents contaminants from entering your new motor.
Tag Hydraulic Hoses During Removal
Mark each hose as you disconnect it. Use colored zip ties, chalk marks, or labels. You need to know which hose connects to which port. Mix them up and you'll have reversed lines or wrong pressure.
Some operators use colored plastic ties. Others use numbered tags. Pick a system and stick with it.
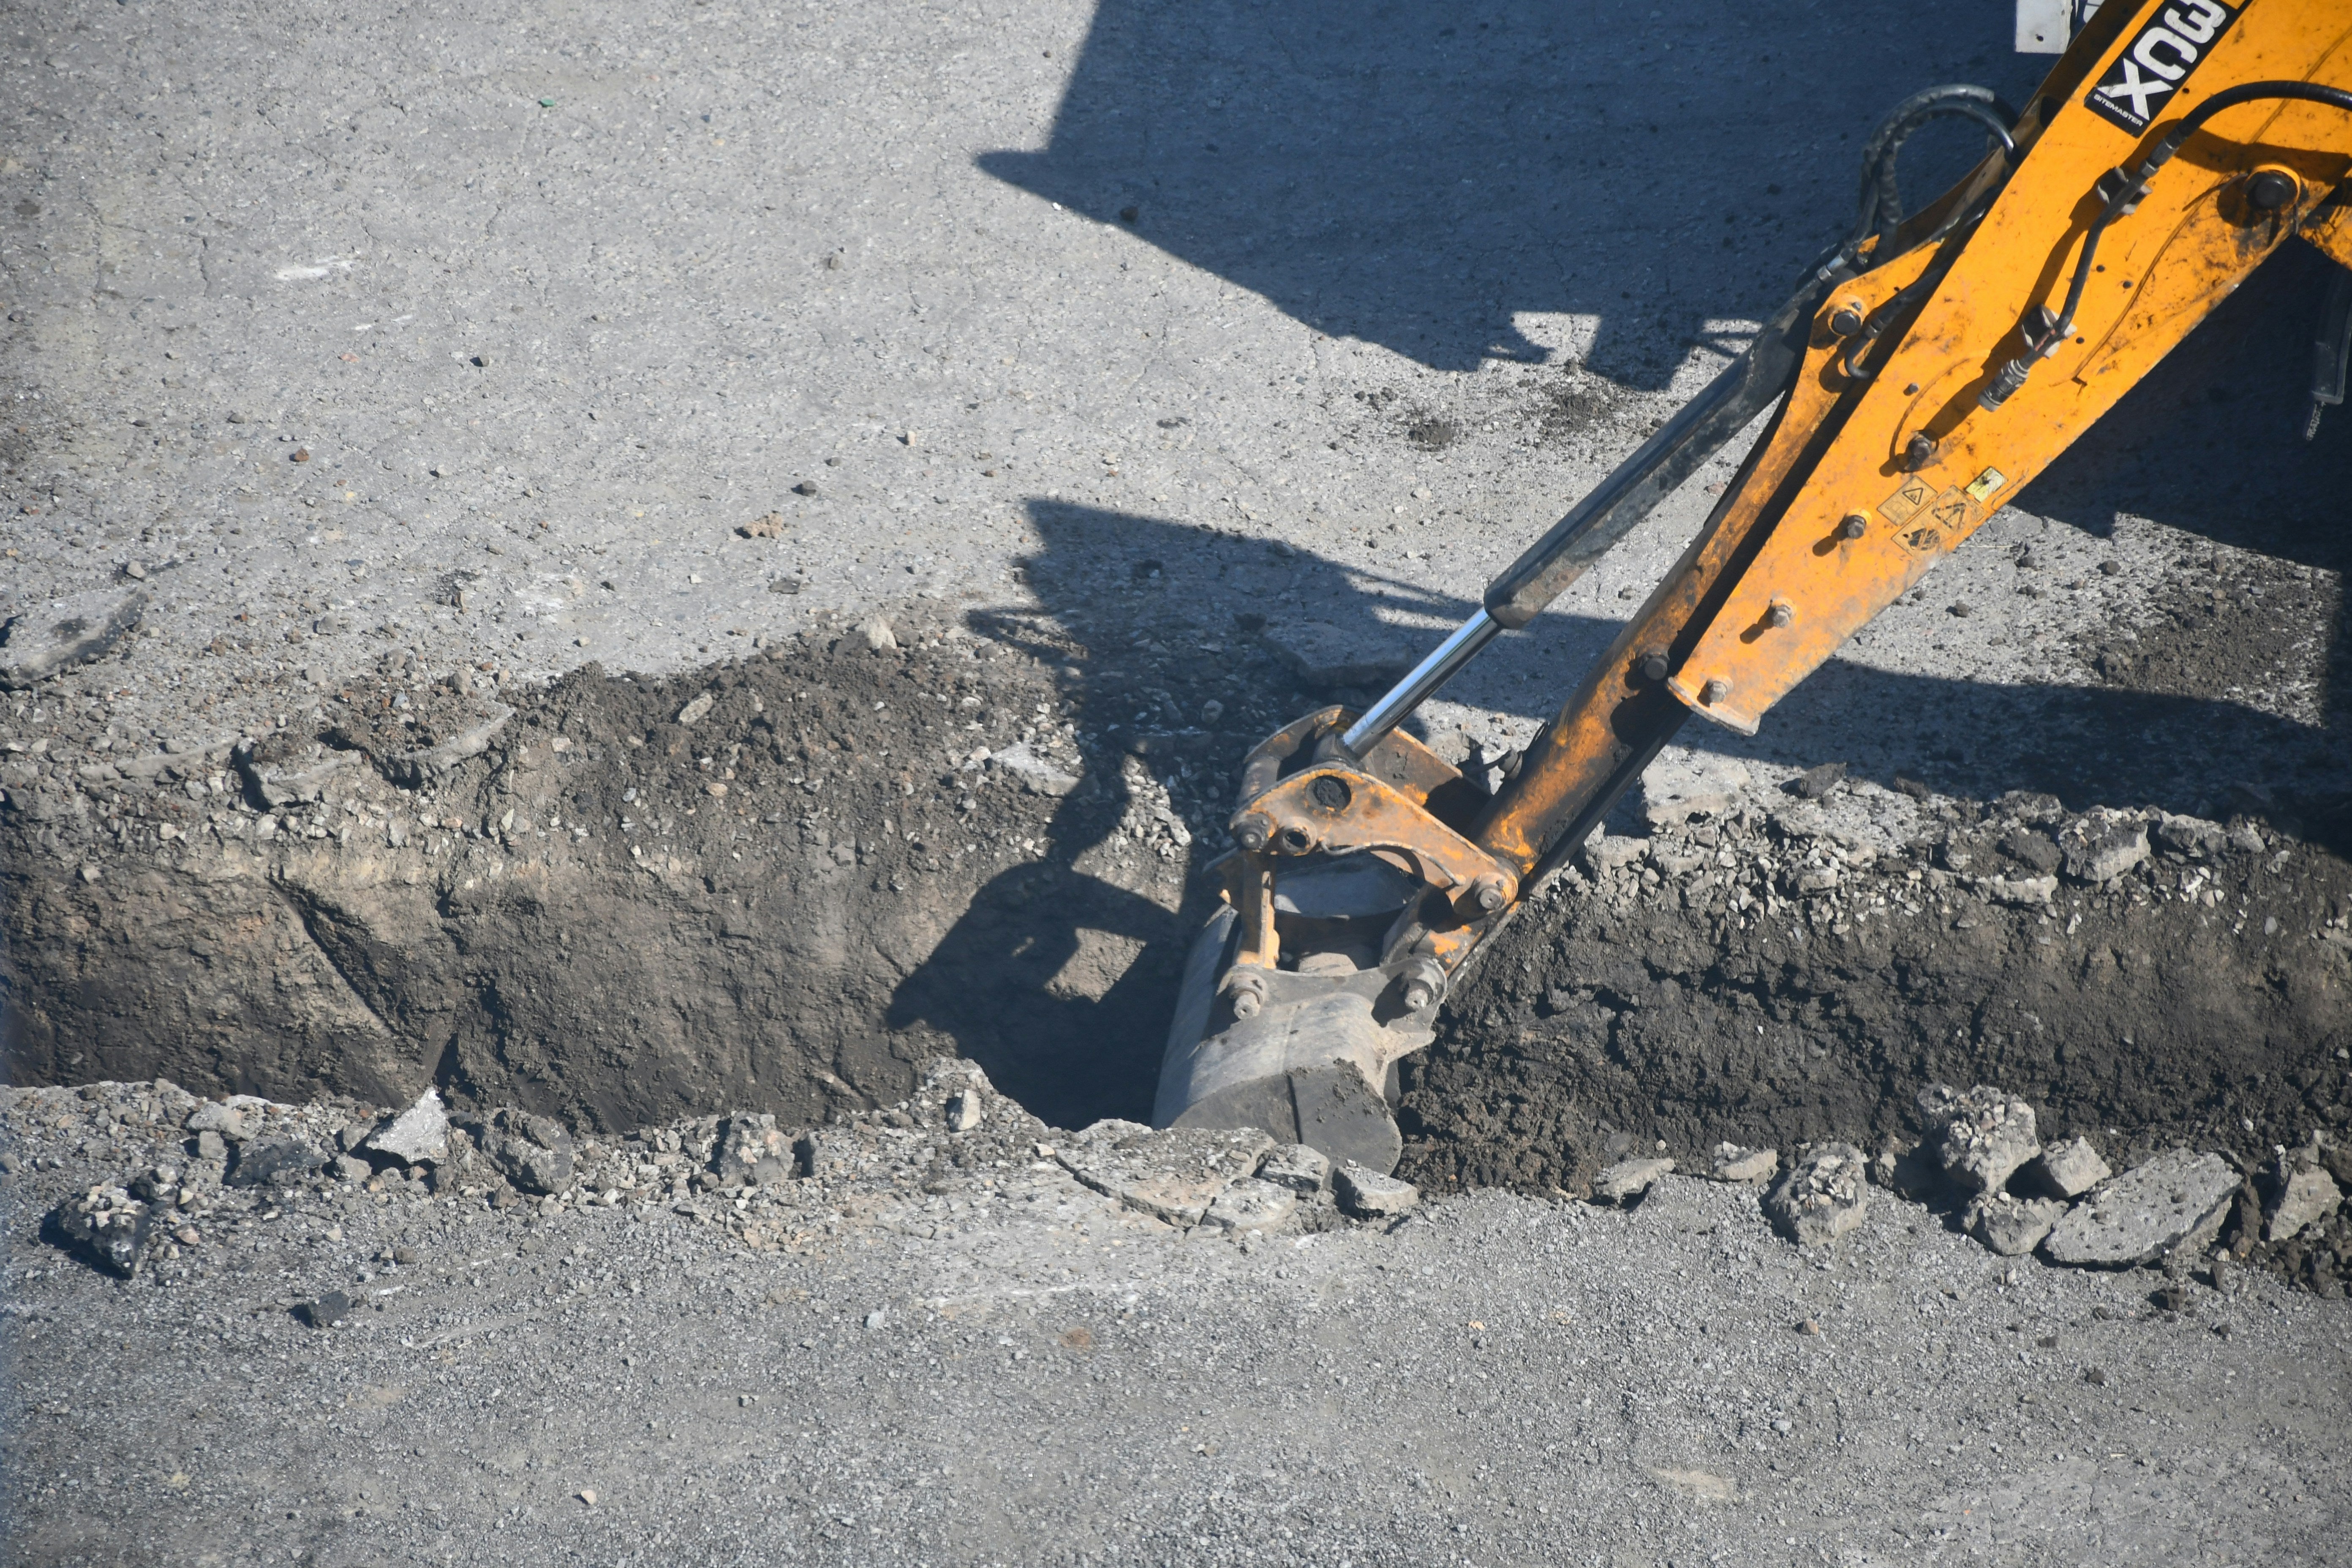
Essential Steps for Installing Your Final Drive Motor
Precision matters more than speed during installation.
Proper Alignment and Bolt Installation
Alignment makes or breaks your installation. Line up bolt holes and gear teeth carefully when installing your final drive motor. Misalignment causes premature wear and system damage. Hand-thread bolts first to hold everything in place.
Don't force anything. If bolts won't thread smoothly, your alignment is off. Fix it now.
Hydraulic Connection Procedures
Your connections must be clean and secure. Inspect every fitting and hose for wear, cracks, or damage before attaching lines. Clean fitting ends thoroughly. Connect hoses to correct ports based on your tagging system. Tighten connections firmly without overtightening threads.
Fluid Level Verification
You must verify fluid levels before and after installing your final drive motor. Check your excavator's main hydraulic fluid level. Top it up if it dropped during removal. Low hydraulic pressure damages your new motor immediately. This step is non-negotiable.
Critical Fluid Management
Skip these steps and your new motor is worthless.
Add Hydraulic Fluid Before Startup
Never start your motor dry. Add hydraulic fluid through the proper fill port before starting the engine.
A dry start causes instant damage to internal components. The motor needs fluid for lubrication and cooling from the first rotation. Fill according to manufacturer specifications. This single step adds years to motor life.
Fill Planetary Hub with Gear Oil
The planetary gearbox needs separate lubrication. After installing your final drive motor, fill the planetary hub with correct gear oil.
Key requirements:
- Use manufacturer's recommended weight
- Check proper oil level at sight glass
- Don't underfill or overfill
Underfill causes gears to grind to dust. Overfill blows seals and creates leaks.
Replace Case Drain Filter
Installing your final drive motor means installing a fresh case drain filter every time. Clogged filters are a leading cause of catastrophic failure. They prevent proper pressure release. Quality suppliers include a free filter with every motor. Use it. Don't skip this step.
Torque Specifications and Bolt Tightening

There's a right way to torque bolts.
Follow Manufacturer Torque Requirements
Every bolt has a specific torque specification. These are engineering requirements for safe operation.
Under-torque problems:
- Bolts loosen during operation
- Leaks develop
- Vibration increases
- Motor separation risk
Over-torque problems:
- Stripped threads
- Cracked housings
- Broken bolts
Use a calibrated torque wrench. Follow exact specifications in your manual.
Use Star Pattern Tightening Method
Work in a star or cross pattern when installing your final drive motor bolts. This distributes pressure evenly. Hand-tighten all bolts first. Then use your torque wrench gradually in multiple passes. Tighten in star pattern during each pass until reaching final torque.
This ensures even seating and prevents warping.
Testing Procedures After Installing Your Final Drive Motor
These checks catch problems before they become disasters.
Low-Speed Direction Testing
Run the motor at low speed before putting the sprocket back on. Lift the excavator so tracks are off the ground. Test in both forward and reverse.
If the motor runs backwards, you've reversed the hydraulic lines. This is an easy fix now but a major problem later.
Test direction, listen for unusual noises, and watch for smooth operation.
Check for Leaks and Proper Operation
Inspect every connection point for leaks with the motor running at low speed.
Check hydraulic line fittings, case drain, and all seal surfaces. Small leaks now become major failures later. Shut down immediately if you see fluid seeping out. Verify the motor responds correctly to control inputs. Sluggish response indicates a problem needing attention.
Verify Track Movement and Sound
Lower the excavator and test track movement under light load. Listen carefully to motor sounds during operation. Normal operation should be quiet and smooth. Grinding, squealing, or knocking means something is wrong.
Both tracks should move with equal power and speed. Uneven movement suggests installation problems needing immediate correction.
Common Installation Errors to Avoid
Don't make these mistakes that destroy new motors.
Reversed Hydraulic Line Connections
This is the top error when installing your final drive motor. Input and output lines look similar but aren't interchangeable. Reversed lines cause backwards running or pressure failure. Some operators only discover this after completing installation.
Use your tagging system. Double-check every connection before starting.
Skipping Fluid Fill Steps
Skipping hydraulic fluid or gear oil fill destroys your motor. There's no fixing a motor run dry.
These steps take minutes. They're the difference between a motor lasting thousands of hours versus failing in 50.
Don't skip them. Don't rush them. Do them right.
Improper Port Identification
Final drive motors have multiple ports for different functions:
- Main hydraulic in and out
- Case drain
- Speed control
- Brake release (sometimes)
Connecting lines to wrong ports causes immediate damage. Some ports look similar but have different pressure ratings. Study your installation diagram. Identify every port correctly before startup.
Post-Installation Maintenance Schedule
Proper maintenance determines long-term reliability when installing your final drive motor.
First 100-Hour Inspection and Maintenance
Check gear oil level at approximately 100 operating hours. This first inspection catches early issues. New motors shed small metal particles during break-in. Inspect gear oil for metal flakes or contamination.
Fluid change schedule:
- Hydraulic fluid: every 1,000-2,000 hours (per manufacturer)
- Gear oil: annually at minimum
- Replace if contaminated
Regular Inspection Points
Establish a routine inspection schedule after installing your final drive motor.
Daily checks:
- Look for leaks
- Listen for unusual sounds
- Verify proper track movement
Every 100 hours:
- Check gear oil level and condition
- Inspect seals and fittings for leaks
- Monitor case drain filter condition
Catch small problems early. Make inspection a habit.
Conclusion
Installing your final drive motor the right way protects your investment. Every step matters.
Take your time, follow the process, and do it right the first time.
When you need a quality final drive motor, Precision Final Drives delivers new motors at competitive prices. We're Houston-based and American-owned. Every motor includes a limited lifetime warranty, installation instructions, oil, and complimentary hydraulic fittings.
Frequently Asked Questions (FAQs)
1. How long does it take to install a final drive motor?
A proper installation takes 4-6 hours for experienced operators. This includes removal, cleaning, installation, fluid filling, and testing. Rushing leads to costly mistakes.
2. Can I reuse the old hydraulic fluid when installing a new motor?
No. Always use fresh, clean hydraulic fluid. Old fluid contains contaminants that damage your new motor. New fluid costs far less than motor replacement.
3. What happens if I don't replace the case drain filter?
A clogged filter prevents proper pressure release. This causes catastrophic motor failure within hours. Always replace the filter during installation.
4. How do I know if my motor is running in the correct direction?
Test at low speed with tracks off the ground. If the motor runs backwards when you command forward, your hydraulic lines are reversed. Switch them and retest.
5. What's the most critical step in the installation process?
Filling both the hydraulic motor and planetary hub with proper fluids before startup. Running a motor dry causes immediate damage that voids warranties.
6. What maintenance is required in the first 100 hours?
Check gear oil levels at 100 operating hours. Inspect for metal particles from break-in. Change gear oil annually. Follow your machine's hydraulic fluid schedule (typically 1,000-2,000 hours).