Caterpillar Inc is one of the most recognized and trusted sources for all things related to heavy construction equipment. Specifically known for their excavators in this regard, Caterpillar excels in the manufacturing and distribution of these critical construction instruments to private and corporate operators alike.
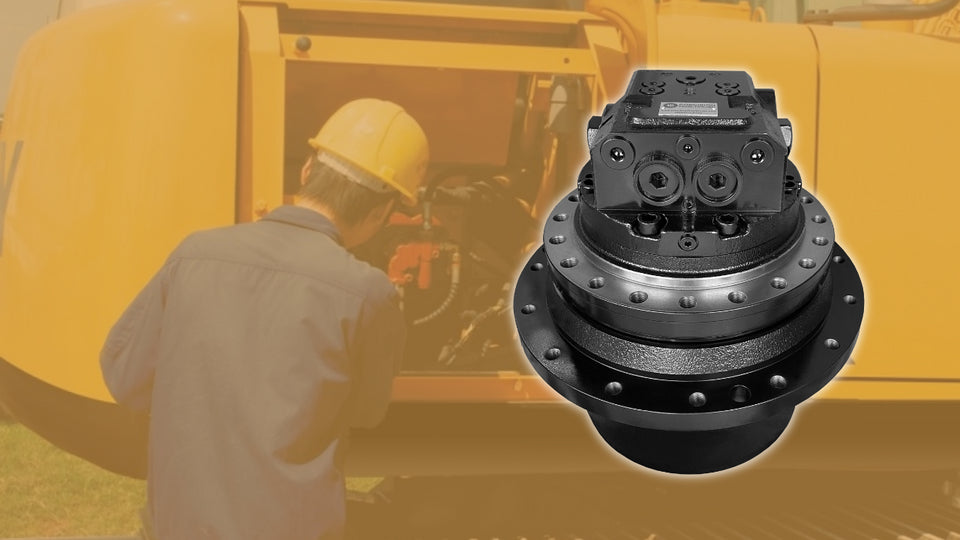
That being said with any machine, especially the ones designed for carrying heavy loads and extensive work hour operations. The component in question that we will be covering today is the Final Drive Motor Component of your Caterpillar Excavator.
Making sure you keep up to date on your machine's health and maintenance will save you countless dollars in overall maintenance funds.
If just a single component or part of your excavator is neglected for extended periods of time this can cause catastrophic damage to the surrounding systems of your excavator and even render the machine as a whole completely non-functional.
Taking Care Of Your Caterpillars Motor Final Drive
This article will be going over exactly the proper ways you should adopt when looking to maintain the performance qualities of your excavator's motor final drives.
Tip #1: Inspect Your Gear Oil
Adopting a regular schedule of inspecting your Caterpillar final drive motors gear oil is the first step to making sure your final drive motor remains functional through the excavators' lifespan. Under the consistent usage of your excavator, it is recommended to inspect your final drive motors gear oil once a month, or at least after every 100 hours of operation.
Constantly using your excavator for operation may alter the timespan which you will need to take action for your final drive gear oil.
For the operators looking to find out how exactly this can be done refer to the step-by-step guide listed below to effectively inspect and change your final drive motor gear oil.
Step 1: Check The Quality Of Your Final Drive Motor Oil
Refer to the operator manual to pinpoint the location of your excavator's gearbox. Typically this can be found located at the front side of your tracks, discernable by a unique-looking chamber with three-bolt screws.
To inspect the Quality of the Final Drive Motor gear Oil you will need to first remove any clogging debris that may be present on the cover plate. This can be done using conventional methods like a pressure washer or a shovel will work just fine.
Remove the plug located in the 3 o’clock position carefully as there may be some additional pressure coming from the inside of the chamber. Allow the box to depressurize and then continue removing the plug until fully extracted. You may notice a minute discharge of fluid coming from the port if your oil levels are adequate.
It is at this point that you can observe the coloration of the final drive motor oil and make any calls on whether or not you need to exchange it for a new batch. Black or dark-colored fluid may indicate a severely polluted gear oil quality and should be exchanged for fresh oil as quickly as possible.
Step #2: Emptying Your Motor Drive Gear Oil
If you deem that the quality of the oil is to be changed out for a new batch no worries follow these steps to ensure you are conducting the exchange effectively.
First, remove the plug located at the 12 o’clock position. This will allow the air to pass freely as the final drive motor escapes from the gearbox.
Following this carefully and slowly remove the plug located in the 6 o’clock position. This will allow the final drive motor gear oil to begin exiting the chamber.
Be sure to use an effective container or method to capture the polluted gear oil as this can be detrimental to the surrounding environment and ecosystem. Neglecting proper disposal methods of the fluid can also get operators into serious trouble as this can heavily disrupt and damage organic matter in the surrounding areas due to exposure to dangerous chemicals.
Once the fluid has completely drained out of the gearbox, replace the 6 o’clock position screw back to its slot.
At this time the first half of exchanging your final drive motor gear oil is now complete.
Step #3: Integrating New Final Drive Motor Gear Oil
Once the old gear oil has been successfully removed from the gearbox it is now time to integrate the new quantity of motor gear oil into the chamber.
To begin, start by removing the plugs at the 12 o’clock position and the 3 o’clock position. Begin integrating the new gear oil slowly until the level has reached the plug located at the 3 o’clock position. You will know when to stop as the level of gear oil will begin to leak out of the 3 o’clock plug hole. Once this level has been reached, re-apply the bolts to their designated slots, and viola! Your final drive motor gear oil has successfully been changed.
Keeping up to date on your gear oil can save your final drive motors lifespan ensuring the longevity of your excavator as a whole so don't neglect it!
A Gear Oil Change on your caterpillar excavator should occur once every 200 hours of operation to ensure final drive motor efficiency.
Inspect For Leakages
Noticing fluid seeping from anywhere on your excavator could point to some bad news. In the region of your final drive motor, there are two separate kinds of leakages to look out for.
The First Is Hydraulic Leaks
This fluid leak arises when an issue in the hydraulic parts suffers from poor integrity. In a few cases, this isn't a huge trial to bear when fixing, but in other cases, it may require a complete part replacement.
The Second Is Gear Oil Leaks
Typically starting somewhere in the sprocket region you can also notice fluid dripping onto your tracks indicating you may have sprung a gear oil leak. In most cases, it is a relatively simple fix as you will just need seal replacement.
Stop Your Leaks As Fast As Possible
It is important to note that whatever leaks you find yourself dealing with, they get resolved as quickly as possible, and to minimize the use of the vehicle as much as you can until the leaks are fixed. The buildup of this material can coagulate forming a sludgy substance that can infiltrate or clog up surrounding components of your machine.
Neglecting the leaks for too long can point to severe friction between the moving parts of your vehicle as the fluid drains out. If left unresolved you will have a laundry list of issues to worry about from more than just a single component and could damage your pockets heavily at the end of the day.


